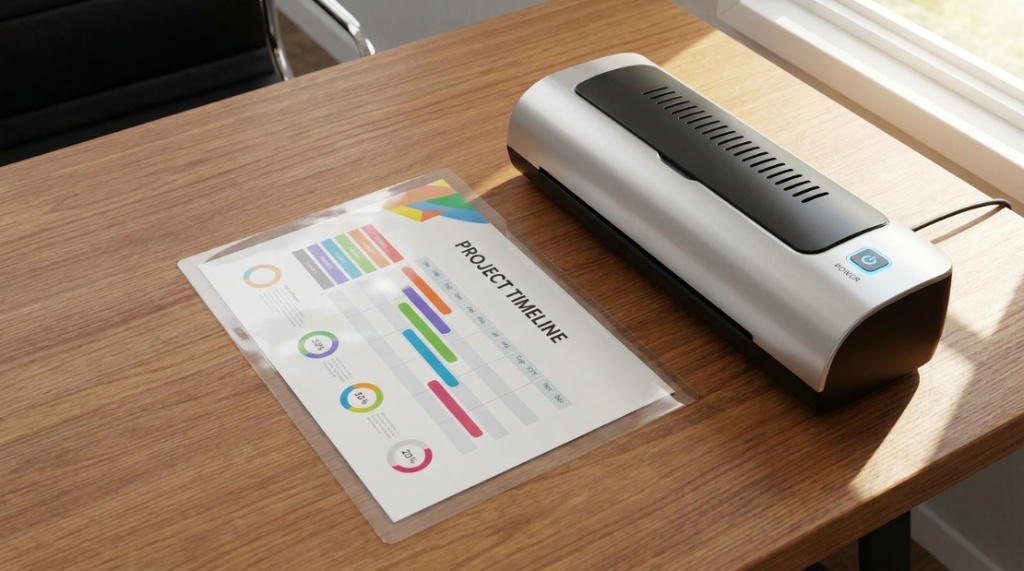
Few things are more frustrating than watching a carefully prepared document get ruined by a spilled coffee, a muddy fingerprint, or simply fading into illegibility over time. You’ve invested time in a proposal, a cherished family photo, or a child’s masterpiece, and you need it to last. While standard paper is vulnerable, you don’t necessarily want to pay a professional print shop for every single item. This is where the right thermal laminating sheets make all the difference, offering a straightforward way to create durable, professional-grade protection at home or in the office. This guide will walk you through everything you need to know to select the perfect sheets, avoid common mistakes, and achieve flawless results every time.
Key Takeaways
- Thermal laminating sheets are categorized by thickness (mil), with 3 mil being flexible and 10 mil offering rigid, board-like protection; your project type should dictate your choice.
- Before purchasing, verify your machine’s compatibility with the sheet size and thickness, as not all laminators can handle heavier 5 mil or 10 mil pouches.
- Always leave a 1/8-inch margin around your document’s edges to prevent the adhesive from bonding to the machine’s rollers and ruining your project.
- Opt for premium thermal laminating sheets that feature a textured or matte finish to reduce glare, making them ideal for menus, signage, and items viewed under bright lights.
Understanding Thermal Laminating Sheets vs. Alternatives
Before you purchase a pack, it’s crucial to understand that not all lamination is created equal. The most common mistake beginners make is conflating thermal lamination with its cold counterpart. Thermal laminating sheets rely on heat to melt a layer of adhesive that bonds the pouch to your paper. This process requires a laminating machine, like a standard pouch laminator. In contrast, cold laminating sheets use pressure to activate a sticky backing and require no heat or machine at all.
For documents you plan to handle daily, such as restaurant menus or ID badges, thermal lamination is the superior choice. The heat-activated adhesive creates a strong, permanent bond that resists peeling and is generally more durable than the adhesive used in cold lamination. Cold lamination is often reserved for heat-sensitive items like inkjet photo prints that might smudge. If you’re looking for archival-quality protection or a resilient finish for heavy use, thermal sheets are the way forward.
Decoding Mil Thickness: What Do 3, 5, and 10 Mil Mean?
The single most important factor in your purchasing decision is the thickness of the pouch, measured in mils (one-thousandth of an inch). This isn’t just about rigidity; it determines the level of protection and how the finished piece feels. You’ll generally find three standard thicknesses available.
3 Mil: The Everyday Protector
At 3 mil, these sheets are thin, flexible, and lightweight. They are perfect for items you want to protect from smudges and light spills but still need to fold or file easily. Think of recipe cards inside a binder, a daily schedule, or frequently consulted reference sheets. The main advantage is that 3 mil pouches are compatible with almost all home laminators on the market. The downside is that they offer minimal protection against bending or punctures.
5 Mil: The Balanced All-Rounder
This is the workhorse of the industry and the best starting point for most general office needs. A 5 mil pouch provides a noticeable increase in stiffness and durability compared to 3 mil, giving your document a professional, high-quality feel. It offers solid protection against repeated handling, moisture, and creasing. This thickness is ideal for certificates with sharp folds, signs, and instructional flyers. However, check your machine’s specifications first, as some low-wattage personal laminators may struggle with the increased thickness.
10 Mil: The Maximum Protection Rigid Sheet
When you need board-like stiffness, 10 mil is the choice. These pouches are often used for heavy-duty applications like ID badges, luggage tags, or notices that are exposed to harsh weather or rough handling. The final product is rigid and cannot be folded. Do note that 10 mil pouches require a heavier-duty laminator; a cheap machine will likely jam or fail to seal the edges properly.
Key Features to Look for in High-Quality Sheets
Not all thermal pouches are manufactured with the same standards. The cheapest packs might have uneven adhesive distribution or thin plastic that wrinkles easily. When browsing, look for these quality markers to ensure you get a flawless finish.
Clear and Uniform Adhesive
A quality sheet uses a high-grade adhesive that melts evenly. This prevents the “orange peel” texture or air bubbles that look unprofessional. Quality adhesive also ensures the document is completely sealed, preventing moisture ingress that can ruin the paper over time.
Material Clarity and Finish
Standard pouches are glossy and can produce significant glare, making text hard to read under harsh lighting. For photo displays or documents in brightly lit areas, seek out thermal laminating sheets with a matte or satin finish. These reduce glare effectively and often hide minor scratches better than glossy alternatives, making them a practical choice for frequently handled items like artwork or menus.
Edge Seal Quality
Look for pouches that allow a small, unglued “margin” on the edge. This design creates a strong seal while preventing the adhesive from leaking out of the laminate and ruining your machine’s rollers. A dry-edge pouch provides a much cleaner finish and prevents the buildup of sticky residue on your equipment.
Step-by-Step Guide to Laminating Like a Pro
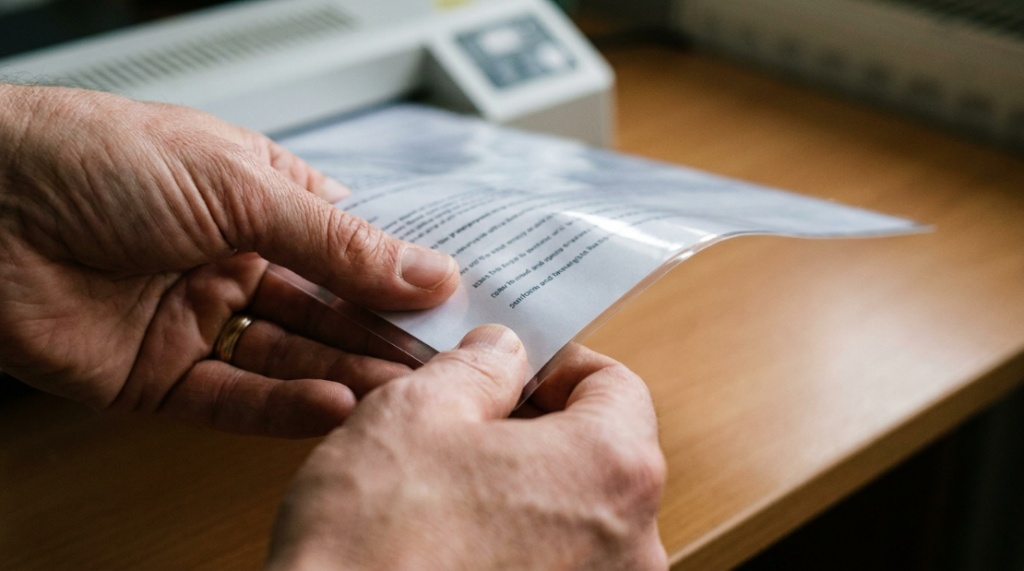
Even with the best sheets, many people fail to achieve a good result due to incorrect technique. Here is a practical checklist to guarantee a smooth, bubble-free finish every time.
- Pre-warm your machine: Turn on your laminator and allow it to fully warm up. The indicator light must be green. Starting too early is the primary cause of jamming and incomplete sealing.
- Set the correct thickness setting: If your machine has a dial for different mil thicknesses, ensure it matches your pouch. Using a 5 mil setting for a 10 mil pouch will result in a wrinkled disaster.
- Center your document: Place your paper inside the pouch. The golden rule is to ensure there is an even margin on all sides, ideally around 1/8 of an inch. This space allows the adhesive to seal the paper inside completely.
- Feed slowly and straight: Insert the sealed edge into the carrier slot. Let the machine pull the pouch through naturally. Do not push or pull it from the other side; let the machine do the work to avoid stretching the plastic.
- Cool flat: As the sheet exits, place it on a flat surface to cool. It will flatten as it sets. Do not bend or curl it while warm, or it will cool with those curves.
Comparing Thermal Laminators and Pouch Sizes
Understanding the relationship between your machine and the pouch is critical. Laminators are defined by their maximum width capacity, typically 9 or 12 inches. A 9-inch machine is suitable for letter-size (8.5 x 11) documents, while a 12-inch machine is necessary for legal-size paper or larger signs.
| Pouch Size | Document Use | Recommended Thickness |
|---|---|---|
| 4 x 6 inches | Photos, recipe cards | 3 mil or 5 mil |
| 5 x 7 inches | Small signs, menus | 5 mil |
| 9 x 11.5 inches | Letter-size paper, certificates | 5 mil (archival) or 10 mil |
| 11 x 17 inches | Large maps, posters | 3 mil or 5 mil |
Always check the manufacturer’s specs to see the maximum sheet width your machine accepts. Additionally, many lower-cost personal laminators struggle with the rigidity of 10 mil sheets because they lack the strong rollers needed to push the thick plastic through. If you intend to use heavy-duty pouches frequently, you’ll need a machine with a higher wattage and steel rollers, not just silicone rollers, To keep your workspace organized while working with important paperwork and office supplies, you might want to maximize desk space with a compact printer stand
Common Mistakes and How to Avoid Them
Lamination is forgiving, but there are a few pitfalls that can lead to wasted pouches and damaged documents. Here are the top errors to avoid.
- Buying incorrect size: Purchasing sheets that are slightly too small for your document leaves a sliver of unprotected paper. If you have to choose, buy the next size up and trim the excess laminate after the process, rather than trying to force a paper into a slightly smaller pouch.
- Sealing a torn document: While lamination can protect against future damage, it cannot fix a creased or torn page. The creases will be permanently sealed into the laminate. Ensure your originals are in the best condition possible before insertion.
- Using sheets for heat-sensitive prints: Lamination generates heat. If you have a very fresh inkjet print, the heat may cause the ink to smudge or the paper to bubble. Always wait at least an hour for the ink to dry completely before laminating.
- Ignoring the carrier slot: Many laminators require you to use a carrier (a cardboard folder) for smaller pouches. Placing a 4×6 pouch directly into a cold slot can cause it to jam. Always check your machine’s instructions for smaller items.
Frequently Asked Questions
Can I use a household iron instead of a laminator?
Technically, yes, but it is highly discouraged for professional results. You can create a “pouch” using thermal sheets and an iron set on a low, dry heat setting with a pressing cloth. However, it is extremely difficult to achieve a uniform seal and you risk melting the plastic. For clean edges and durability, using a proper machine is the only reliable method.
How do I fix a wrinkled or bubbled laminating sheet?
While the pouch is hot and still pliable, you can sometimes run it through the machine again immediately. If the bubbles persist, they are permanent. Preparation is key: ensure your document is perfectly flat and that the pouch is not warped before feeding it through the machine.
Is it safe to trim the edges of a laminated pouch?
Yes, but only if there is a margin of unsealed plastic. If the adhesive has sealed right up to the edge, trimming will break the seal and expose the document to air and moisture. If you need smaller dimensions, use larger sheets, laminate, and then trim with scissors or a paper cutter.
What is the best way to clean laminated surfaces?
Because the surface is waterproof, you can use a soft cloth with a mild soapy water solution. Avoid using abrasive cleaners or alcohol-based products, as they can scratch or cloud the plastic over time, reducing clarity and brightness.
Conclusion
Investing in high-quality thermal laminating sheets is a small step that yields significant returns in document longevity and professionalism. By understanding the differences in thickness, machine compatibility, and material finish, you can move beyond basic protection to create polished, durable end products. Remember to prepare your documents correctly and always allow your machine to reach the optimum temperature before starting. With these insights, you can confidently protect certificates, signs, and everyday documents, ensuring they remain crisp and vibrant for years to come. Choose a thickness that matches your project’s need, and you’ll find lamination becomes one of the most reliable tools in your office arsenal.