How Drain Lining Repairs Pipes Without Digging
Many damaged drains are repaired by inserting a resin filled liner into the damaged area of the pipe from inside the drain. The resin then cures into a new pipe inside the old one. Here is a step by step guide to how a drain repair by this method is carried out.
What The Liner Is Made Of
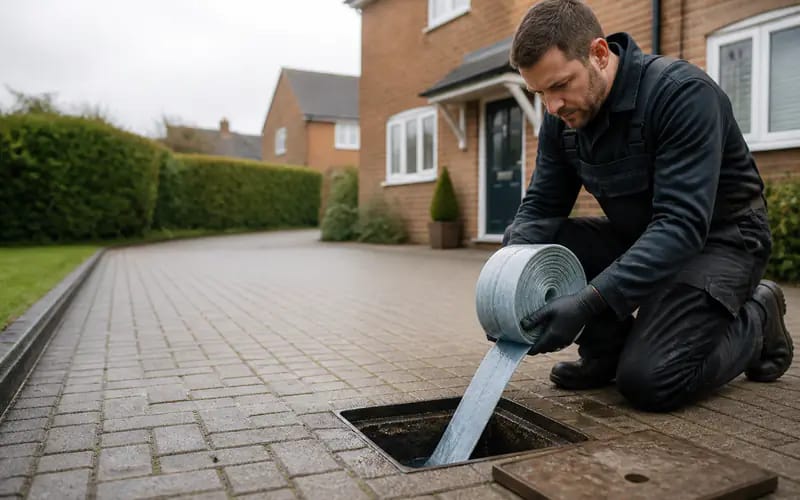
Drain Lining consists of a flexible felt or fiberglass tube which is rolled up and soaked in resin prior to insertion into the drainage pipe. Once inserted into the pipe and the resin has hardened the felt or fiberglass forms a smooth new rigid pipe inside the old one. It is this method that allows engineers to repair underground pipes meters below ground level without the need for expensive and destructive open trench excavation.
Surveying And Clearing The Pipe First
The surveyor uses the findings of the CCTV inspection to locate and confirm the extent of damage to the pipe. Any debris or other obstructions within the pipe are removed prior to the lining process. As outlined by the HSE (Health and Safety Executive) in the guidance for working in confined spaces, deep excavated trenches can be extremely hazardous and the no-dig approach is generally the preferred method of pipe repair where possible.
Cleaning And Descaling The Pipe
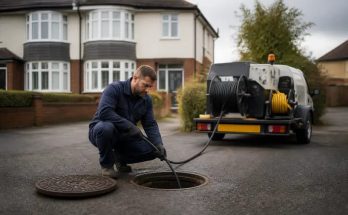
A pipe wall coated with grease, scale or debris prevents a resin from bonding to the pipe wall. Therefore, prior to lining a pipe is thoroughly cleaned inside out using high-pressure water jetting or mechanical cutting heads. The cleaning is very important and could be the main reason for a liner to fail early.
Measuring And Cutting The Liner To Size
These no-dig liners are made to measure. So prior to arrival on site the surveyor would have established the length of the damaged section of pipe and the internal diameter of the pipework. On site the liner would then be cut to size. There are specific rules with regards to building near a public sewer, and the amount of work that can be undertaken would need to be discussed with the relevant consent giving body and the relevant clearances put in place. The public guidance on certified trade standards goes into more detail.
Soaking The Liner In Resin
This process involves mixing together a number of ingredients to form a chemical cocktail which is left to sit for a period of time. The length of time that this mixture is left to sit will depend upon a number of factors including the temperature, and the type of resin being used. For this reason it is generally preferred that the installer mixes the resin on site, prior to use, to minimise the risk of error.
Pulling Or Inverting The Liner Into Place
This flexible tube is pushed through the soil using a cable, often under its own pressure, and is pulled through using a winch. As the liner goes round corners and through joints the pressure of the water or air will push it into any low points or rough surfaces of the old pipe. It is very effective at getting into tight spaces and around bends.
Curing The Resin Into A New Pipe
Here the resin is cured. The curing of the resin can be achieved by allowing it to cure with ambient air left to work on the resin over a number of hours. Some systems make use of hot water, steam or UV light to cure the resin within the liner. The liner will harden into a smooth, rigid pipe structure that can be used to convey water of soil within the existing pipe.
Reconnecting Laterals And Final Checks
After curing of the resin, any lateral connections (such as side branch sewers) within the section under repair will have been sealed by the liner. To enable these to be reconnected, they will need to be cut back within the pipe. This can be undertaken using a remote-controlled cutters head (such as a ‘Rooster’ head), which is fed down the pipe and cuts back through the connections to the required depth. A final CCTV inspection is then carried out to confirm that the liner has adequately bonded to the pipeline walls and that there are no leaks from the connections.
In reality a simple lining can take around a day to complete, access is via a manhole or a small excavation of approximately 300-450mm diameter. This is in comparison to a full excavation for new pipe work which could be the length of the property and a lot wider.